
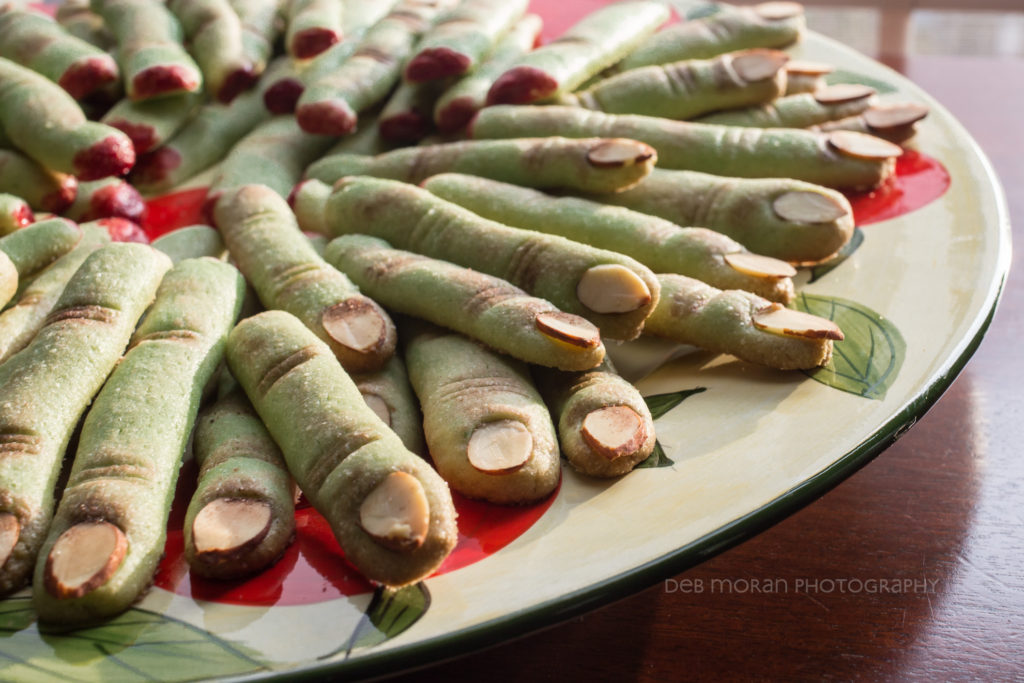
Today was The Girl’s class Halloween party, and I was tasked with making cookies. Well, ok, I signed up for cookies – because I knew just what I wanted to do. I made a recipe similar to one I’d tried a couple of years ago, but as good as they tasted, they didn’t quite turn out like the Pinterest photo. I don’t have an image, but let’s just say the cookies spread while baking, and rather than look like witch fingers, mine looked like once bloated, now deflated, corpse fingers. This year, I think I did a bit of a better job. I used some parts from the original Pinterest pin, and some from a supposed Martha recipe I found on Food.com.
Ingredients:
- Green food coloring (liquid)
- Red food coloring (gel)
- Sliced almonds
- 2 large eggs
- 1/4 tsp vanilla extract
- 1/2 cup butter, room temperature
- 1/2 cup confectioner’s sugar
- 5 T granulated sugar
- 1 pinch salt
- 1 2/3 cups all-purpose flour
- Coco powder
Directions:
- In a small bowl, whisk together 1 egg and 1 yolk (discard the white), vanilla, and green food coloring (about 5 drops). Set aside.
- In a large mixing bowl, using the paddle attachment, combine butter, confectioners’ sugar, granulated sugar, and salt.
- Add egg mixture, and beat until smooth (about 2 minutes).
- Add flour, and mix on low speed just until incorporated.
- Place dough in a zipper-lock bag or wrap in plastic wrap, and refrigerate 20-30 minutes, until firm.
- Preheat oven to 350.
- Remove half the dough from the fridge and roll into finger shapes 3-4 inches long. Here’s where I failed the first time. I rolled them too fat. Try to keep them no more than 1/3 inch wide (unless you’re going for the bloated-deflated look, then go to town). They will spread a bit, but still look like fingers.
- Place the fingers on a parchment lined baking sheet.
- Use a food safe paintbrush to bloody up one end of each finger.
- Carefully press a sliced almond onto the end of each finger as a fingernail.
- Lightly “dent” in two places with a butter knife to create knuckle lines (3 close-set lines per knuckle).
- Use another, dry food-safe paintbrush to dust the fingers with coco powder, concentrating on the knuckles and cuticle areas.
- Bake for 10-12 minutes and cool the cookies on a rack when finished.
- Repeat steps 7-13 with the remaining dough.
Go Cubbies!